Missing Out On A Perfect Cookie Shape? Here Are 2 Ways To Make Your Own Diy Custom Cookie Cutter
Have you ever wanted to know how to make a cookie-cutter? The process of making a fun-shaped DIY custom cookie cutter is quite easier than you would expect. No wonder why most Australians enjoy baking cakes and cookies! Most people in Australia prefer buying cookie cutters made of stainless steel to save time. However, if you could spare a few hours and would like to do something fun, then making a cookie-cutter is the best deal. In this article, you will learn how to make your very own DIY cookie cutter into all sorts of shapes. With a DIY cookie cutter, you can mould your cookies into whatever you want.
Supplies Required
- Paper
- Marker
- Superglue
- Scissors
- Ruler
- Cutting gloves
- Aluminium: either foil, oven liners, or soda cans
This article will go through two different methods of making DIY cookie cutters. Each method will only need one form of aluminium.
Method One: Aluminum Foil
The first method of learning how to make cookie cutters is by far the easiest one. This method is completely harmless for little kids as no excessive amounts of cutting is required. Additionally, the aluminium foil does not have any sharp edges which makes a win-win situation for you. The only part you will need to supervise while working with little ones is the glueing.
1) Start by tearing off a sheet of aluminium foil. You can use the foil of standard quality, however, a heavy-duty foil will help you to retain a particular shape. Make it about a foot long.
2) Next, take the aluminium sheet and lay it on a flat surface. Keep the longest side in a horizontal direction.
3) Take one of the longer sides and fold the foil up a half-inch. Now, continue to wrap the foil over itself until you have a long strip.
4) Form the long strip into a particular shape you want it to be in by creasing the foil in different directions.
5) Once the desired shape is formed, use glue to keep the aluminium together. Let it dry completely before use.
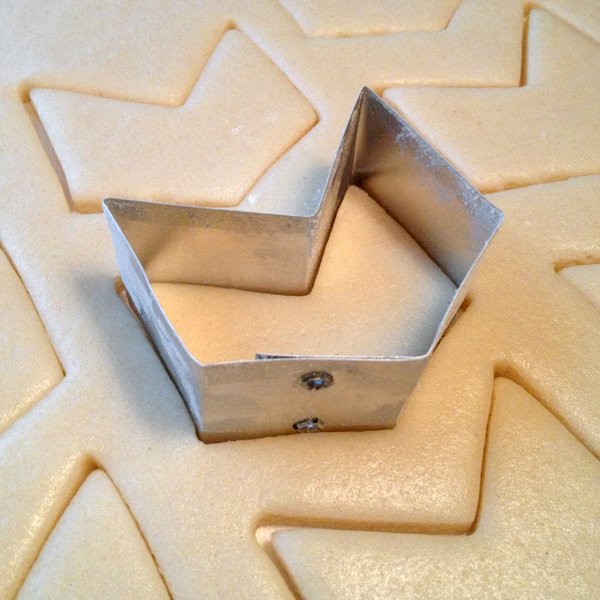
Method Two: Aluminum Oven Liner
Caution: This method is not for kids! The edges of the aluminium liner can be quite sharp. Therefore, you must consider wearing gloves while working with the material. DIY cookie cutters made from oven liners are sturdy and best at cutting through any thick dough.
1) Safety first. Put on your protective gloves.
2) Trim the edges of the oven liner.
3) Next, markdown the horizontal edge every four inches apart. Cut the marked pieces.
4) After cutting the pieces, fold each strip in half. Keep it on a straight edge of your surface to be precise.
5) Now, unfold your strips and focus on them one at a time. Fold each sharp edge in half again and meet them in the middle of the liner. Remember that all sharp sides of the strip need to face the inside.
6) Press down on the fold to straighten and flatten your edges.
7) Bend it into the desired shape and glue it. Let it dry before use.
Who knew a simple aluminium foil can do such wonders!
If you are not in the mood to do the heavy lifting of making the cookie-cutter yourself, Cookie Cutter Shop can help you out. They offer a wide range of high-quality custom cookie cutters and stamps that are made in Australia. You might also want to check out their Christmas, Easter, and Eid cookie cutter collection.
Share
What's Your Reaction?
 Like
2
Like
2
 Dislike
0
Dislike
0
 Love
0
Love
0
 Funny
0
Funny
0
 Angry
0
Angry
0
 Sad
0
Sad
0
 Wow
0
Wow
0