How to Fix Carpet Seam Repair like a pro?
Carpet Seam Repair is the best carpet repair service in Melbourne. Our Company provides affordable emergency & Same Day carpet repair services to nearby cities.
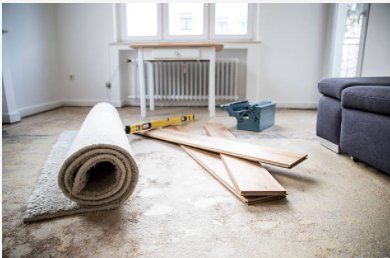
Carpet seams are the most important part of a carpet. It is a meeting point for two carpet pieces. With regular usage and time, seams are often the first thing that appears damaged in your carpet. Therefore, keeping an eye on the carpet seams is important if you want your prized possession to last long.
The good news is- you can try carpet seam repair at home! In case of minor damage, homeowners can take matters into their hands and fix carpet seam repair just like professionals!
Continue reading to learn more about how professionals perform carpet seam repair in Melbourne.
Step-1 Arrange Pieces of Carpet
If your carpets have been damaged and torn into two, then arrange these pieces one after another. Ensure there is an overlap of at least 3 inches. The carpet piles should face the same way. In case you feel confused, then check for an arrow mark that shows the pile’s direction on the carpet.
Step-2 Mark the Edges First and Cut It
Roll the carpet’s top piece. Measure 1 inch from the outer edge of the backing and make a mark. To make a cutting line, draw a line using chalk highlighting all of the carpet marks. Follow this method patiently and with caution to get results similar to carpet seam repair service.
Step-3 Place a Board Piece for Protection
Place a board or piece of plywood beneath the rolled-back edge of the carpet to protect it from the sharp edges of the knife. Place a straightedge along with the lines drawn using chalk and cut through the carpet with any sharp knife or carpet knife while using the guide of straightedge.
Step-4 Replace The Cut Out Carpet Edge
Replace the uncut carpet edge with the freshly cut carpet edge. Make sure the newly cut piece overlaps the old piece by 2 inches. Next, use a knife for cutting out the bottom-most piece of the carpet. Cut through a single thread row. Ensure your hands are steady to cut straight lines.
Step-5 Apply Seaming Tape
Place a line of tape beneath the cut-out edges of the different carpet pieces, ensuring that the adhesive side remains up. Place the seaming tape side by side of the length of the carpet, ensuring that the two sections are perfectly positioned remain aligned along the edges.
Step-6 Use Seaming Iron
For fixing the seam a special tape and iron are used on the carpets. To finish the carpet seam repair, put the iron beneath the carpet pieces and against the tape used for carpet seaming. Based on the tape type you may be required to heat it for a few minutes to start the activation of the adhesive.
Step-7 Organize the Seams Together
Slowly move the iron along and over the seam and tape, pausing only for a few seconds so the adhesive can activate at each point. Press gently the pieces of carpet underneath the tape as you move the iron, pressing the pieces together securely.
Step-8 Remove the Weight
Keep seaming your carpet or rug until you got to the seam’s edge. Let the weights sit on the joint for the next 15 minutes and later release them. The result of fixed carpet seam repair will be a virtually seamless carpeted surface with the seam hidden by the thread piles.
Final Words
To get your carpet seams fixed at home feel free to try our step-by-step guide. Make sure you have the necessary tools and skills for the job. Else you can always rely on professionals for quick carpet seam repair in Melbourne.
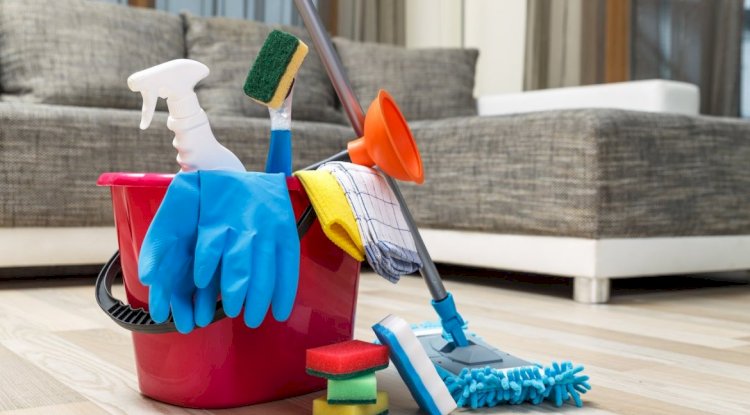
Contact Metro Carpet Repair for complete carpet repair and cheap carpet steam cleaning Melbourne!
Share
What's Your Reaction?
 Like
2
Like
2
 Dislike
0
Dislike
0
 Love
0
Love
0
 Funny
0
Funny
0
 Angry
0
Angry
0
 Sad
0
Sad
0
 Wow
0
Wow
0


Nice Article
1
1